Showing posts with label paper. Show all posts

Thursday, February 16, 2017

Best Paper for Smooth Watercolor isn't even Watercolor Paper!

Yes, you read that correctly!

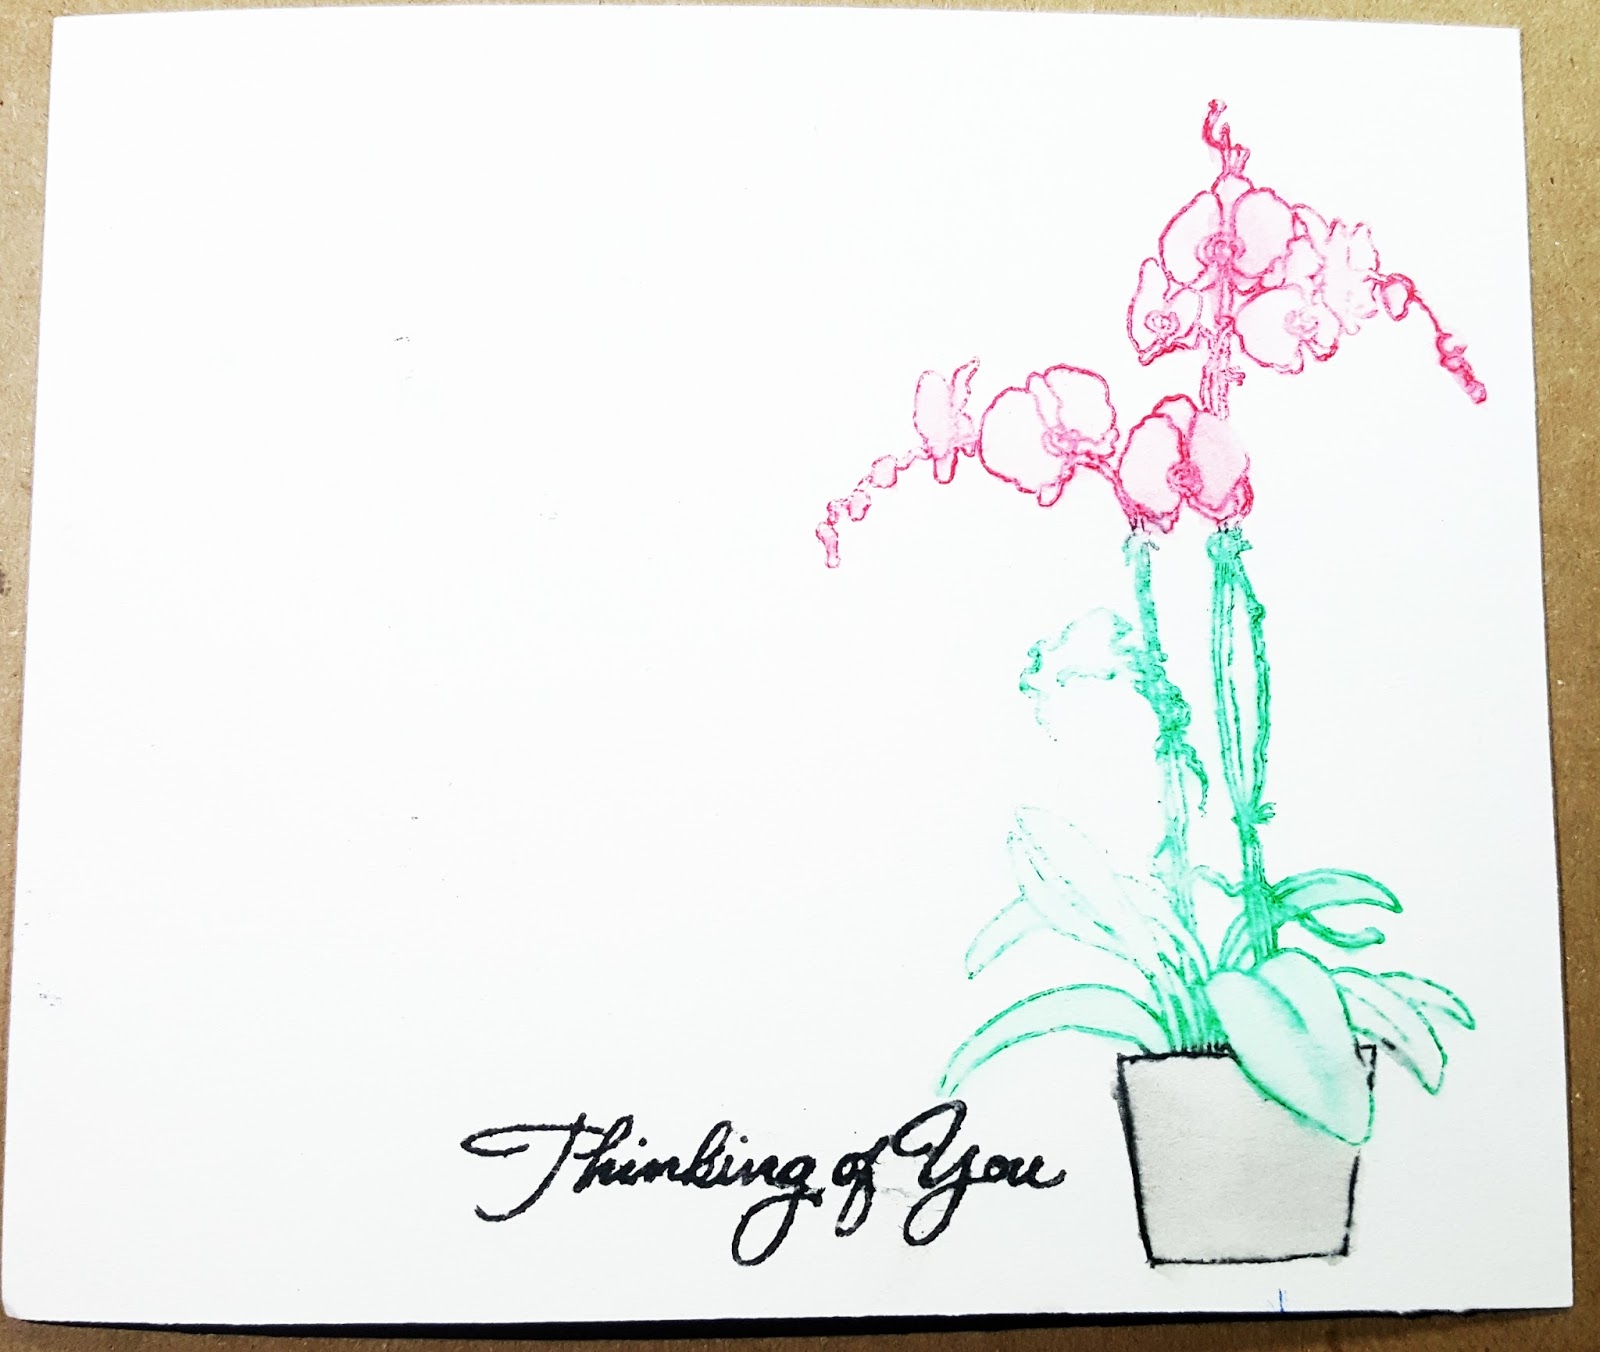
Bristol Paper creates some amazing SMOOTH watercolor effects. 


Bristol Smooth Surface Paper by Strathmore is not traditionally used for watercoloring. In fact, it is meant for pencil and ink.

It is acid free and heavyweight at a 100 lb. weight. This makes it PERFECT for using on cards, mixed media and scrapbooking. 

Why should you use this paper? 
Well, it is the best paper for someone who is starting out and feels a little intimidated by watercoloring. I like using it because I don't do shading, highlighting or blending. I simply want some even color on my image. I generally use this on an image that I have stamped with memento tuxedo black ink.  Unlike watercolor paper, which will soak in some color initially, this paper tends to allow the color to float for a little bit before seeping in.

What types of watercolors work well on this paper?
I specifically wanted to try this paper with my Zig Clean Color Real Brush Markers. I was very pleased with the results. It also worked incredibly well with my Tim Holtz Distress Markers and Staedler Ergosoft Watercolor Pencils.

What if I am more advanced?
Since I am a novice at watercolor I can only recommend what I've seen other professionals recommend. If you want to do "proper" watercolor techniques then you may want to try Arches Cold Press Watercolor Paper or Canson XL Watercolor Paper. I have used Canson XL before and experienced no pilling even with heavy saturation and a lot of  brush strokes.

If you have been struggling with watercoloring for cardmaking, this just may be your answer. Remember, your surface is just as important as your medium. The same watercolor can look terrible on one paper and beautiful on another!


Thursday, May 19, 2016

Review and Techniques with Prima Water Soluble Oil Pastels


I recently ordered some Prima items and among them were the Water Soluble Oil Pastels. Since one of the boxes came dented up I decided I would keep that one for myself (since the contents were likely damaged- and they were) and write a review about it. 

These pastels come in a box of 24 and retail for $20.00. Simon Says Stamp sells them. We also sell them but by the time this blog post goes up we'll probably only have a couple left

Once I opened my box I got right to work seeing what these worked well for and maybe not so well for. 

First technique was general coloring. The pastels are very creamy and would even draw on the tip of my finger. I tried scribbling on a thin sheet of non primed paper and it easily took the pastel. I added some water with my paint brush and it easily made the numbers I had written disappear. They are very soluble even on a non primed surface. 

Second technique was mixing with a gel medium. I chopped off the end of one of the pastels with my palette knife and smashed it into some Prima 3D Gloss Gel Medium . It's not as creamy as a gelato so it took quite a bit of smashing to get it mixed in. I used the red color and you can see the result of me applying it through a star stencil on the picture below on the right. 

On the left side of the picture you will notice some light green dots over a purple wash of color. The purple wash of color was added on top of some dried Prima 3D Gloss Gel to see how it would react. I wanted to see if the water soluble oil pastels would stay on that medium or if it would act as a resist. It dried and stayed on it just fine. Then I was able to scribble the oil pastel on a non porous surface and mix in some Liquitex Gloss Gel Medium to create another colorful mixture to put through a stencil. This blended much easier than chopping off the end of a pastel. 

For my next technique I thought it would be fun to see how they worked on enhancing texture. I added some Golden Molding Paste to my journal and dried it with a heat tool to create some bubbles and get a lunar type of texture. Then I lightly scribbled on top of the texture, squirted some water on it, and blended it out with my finger. Here's the effect: 
It really gets into all of those small nooks and crannies and really accentuates the texture! 

Next I wanted to see how these worked for stamping. This one of my favorite techniques with these pastels and it's enough to make me happy to own them! All you do is scribble on the back of a stamp and give it a few mists of water and stamp down. You can then use a waterbrush to draw some of the color from the edges to the inside or even grab color directly from the oil pastel to add to your image. Here's how it came out on 140 lb watercolor cardstock using a photopolymer stamp: 

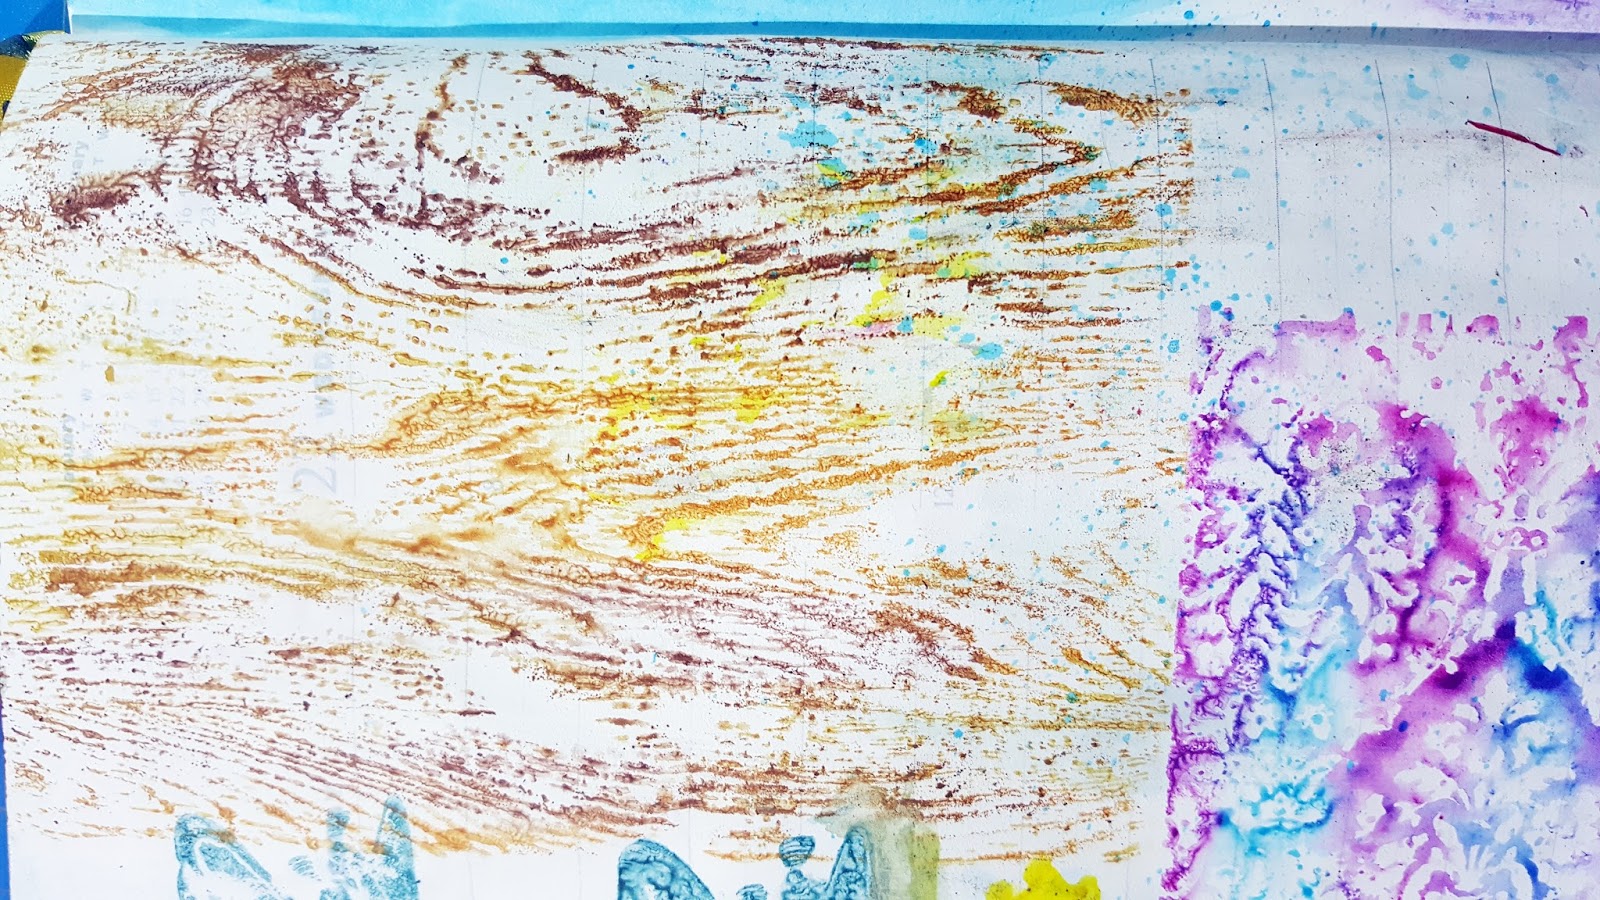
Lastly I tried it on a rubber stamp with 3 different colors to see what would happen and that came out nice too. Here's what that looked like with a woodgrain stamp: 

If you like these techniques then I definitely recommend checking out the Prima Water Soluble Oil Pastels

Prima Flowers ARTIST QUALITY OIL PASTEL CRAYONS 814328
Here's a video I put together showing all of these techniques in action!